Playlists#
Definitions#
Terminology |
Definition |
|---|---|
App |
Dynamic and interactive content |
Page |
An app or Editor template that includes text, images, videos, database links, etc. |
Playlist |
A sequence of pages that are displayed for a specific duration. |
Creating a Playlist#
Create a user group and a player group#
Before creating a playlist, you need to create a user group and a player group.
Create a user group.
Give it the same name as your new playlist.
Add “Users” to the beginning of the name.
Create a player group.
Give it the same name as your new playlist.
Add “Players” to the beginning of the name.
Create a playlist#
Before creating a playlist, make sure you have created a user group and a player group.
Go to Content –> Playlists.
Click on Create Playlist.
Follow the wizard.
Name your playlist.
Choose a clean-up type.
Choose to allow Player level or not.
Choose Select Player groups and choose the player group you just created.
Choose Select User groups and choose the user group you just created.
Choose whether to select certain app folders or to assign all apps.
Opening a playlist#
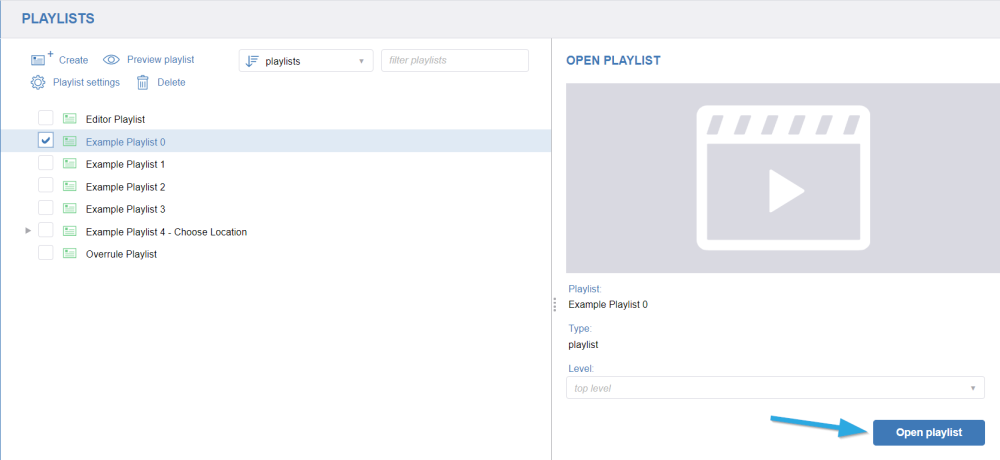
To open a playlist, go to Content –> Playlists. Select a playlist and click on Open Playlist. The Playlist Editor will now appear.
Top level vs. Player level#
Creating a playlist on the player level#
Go to Content –> Playlists.
Click the Create Playlist icon and follow the wizard to create a new playlist.
Allow changes on the player level.
Opening a playlist on the player level#
Usually, playlists are managed at the top level. However, you can also edit a playlist on the player level.
Go to the menu Content –> Playlists.
Click on the arrow on the left-hand side of the playlist.
Select the desired player to open the playlist on the player level.
Note
Only the assigned players of a playlist are shown.
Warning
A playlist should only be changed on the player level if it deviates from the standard. When not managed properly, player-level playlists will not be correctly updated. Whenever possible, we recommend you manage your playlists at the top level.
Editing Playlists#
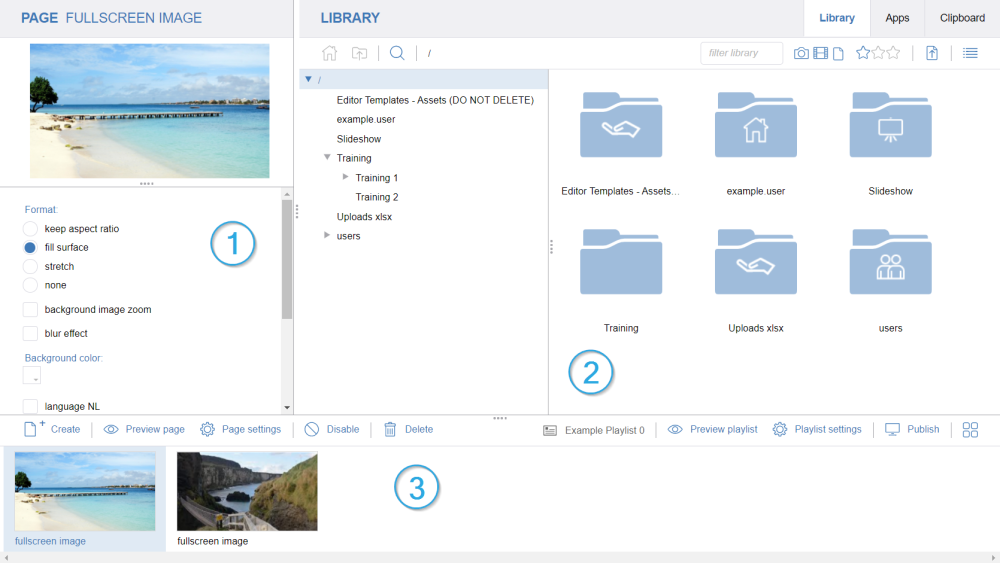
The playlist Editor window is divided into three panes:
Page Preview: contains a small preview of your page.
Library: contains your files (images, videos,…), apps and the clipboard.
Page Sorter: contains the pages of the playlist.
Note
The Page Sorter can be viewed in strip or tile view. Switch between the two different modes by toggling the Strip View or the Tile View buttons.
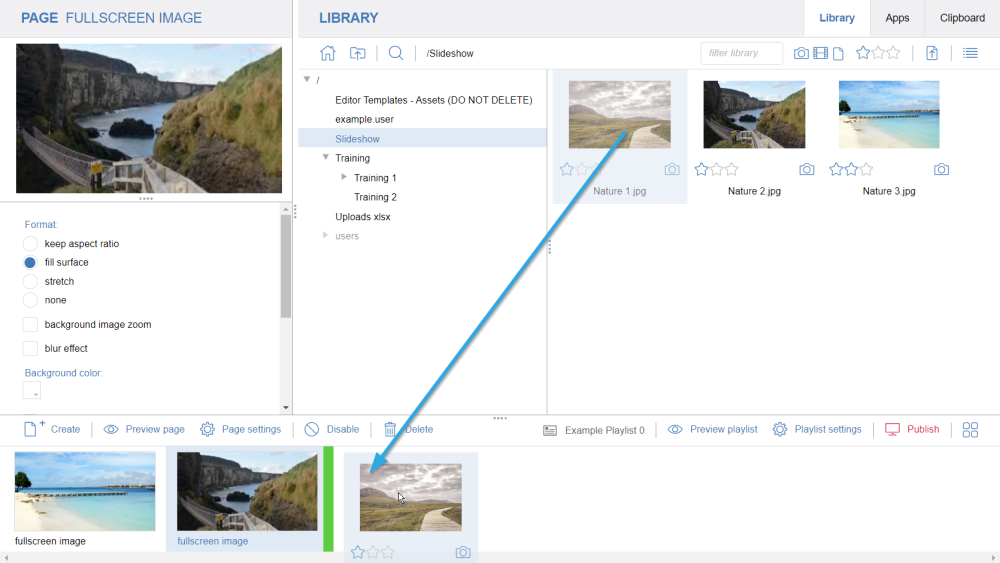
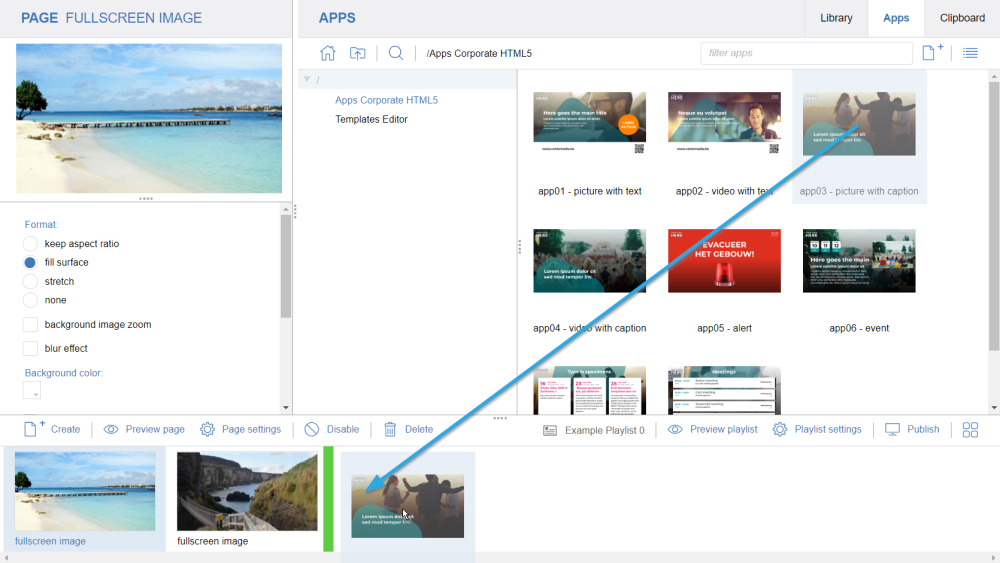
Fullscreen layout#
Drag a library file in the Page Sorter at the bottom of the screen.
The default fullscreen apps will automatically be used.
Note
Default fullscreen apps are not displayed in the apps tab.
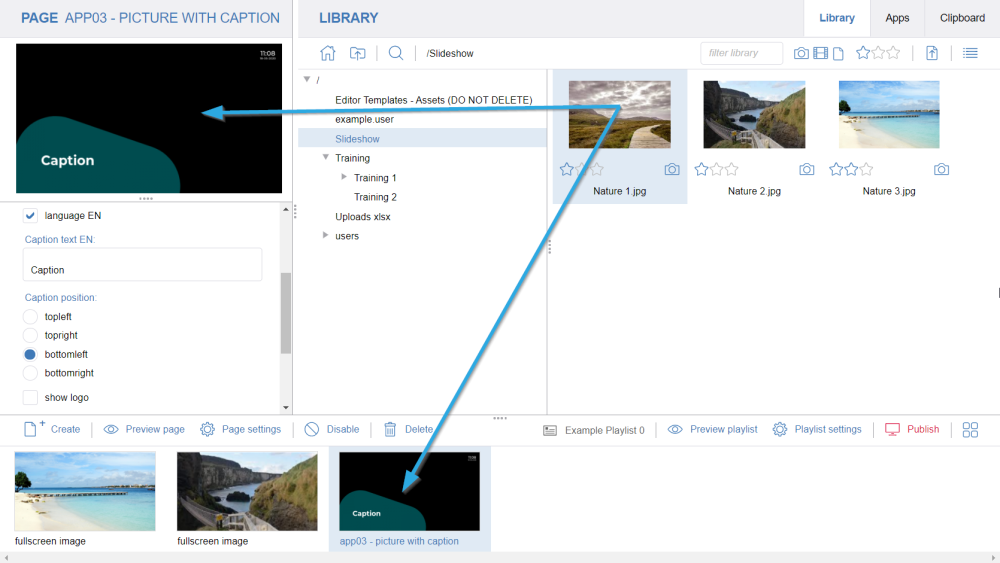
Custom layout#
Click on the apps tab and drag the app to the playlist.
Fill in the fields in the Page Preview to the left.
Go back to the Library tab.
Add a library file to the page.
Note
You can drag multiple apps at once to the Page Sorter by holding down the CTRL key on your keyboard.
Note
You can drag a library file to the small preview in the Page Preview window or in the Page Sorter at the bottom of the screen.
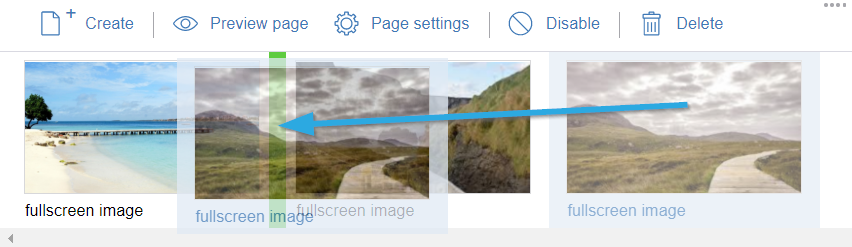
Moving pages#
Select the page(s) you want to move.
Drag the page(s) to its (their) new position in the playlist.
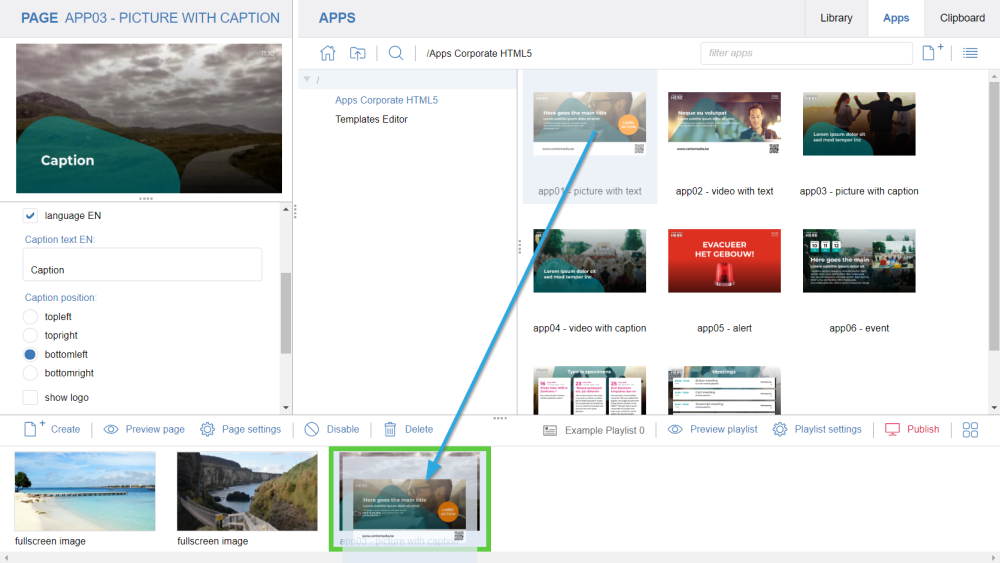
Replacing pages#
Drag an app over the desired page.
A highlight border will appear around the page.
Drop the app by releasing your mouse button.
The CMS will try to match the app items with the page items and copy the content to the replaced page if it finds a match.
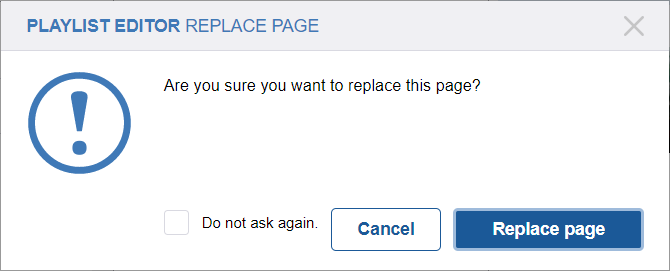
Note
A message will appear asking to confirm the page replacement. You can select the option Do not ask again to always replace pages without the confirmation message.
Using Editor#
Creating an Editor page#
Click on the Create page icon in the bottom left corner.
The Editor contains a list of different widgets to build your page. You can add a widget by selecting it on the left side and clicking in your work field.
Toolbar#
The Editor toolbar contains multiple functionalities. You can find them below.

Settings#
Show/lock guides#
You can add guide lines in the Editor to easily position and align different items. Click on the top ruler and drag your mouse down to add a horizontal guide line. To add a vertical guide line, click and drag from the left ruler.
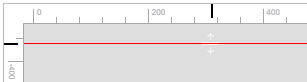
To remove a guide line, click and drag it back up or left to the ruler. To hide the guide lines, unselect Show guides. To lock the guide lines, select Lock guides.
Snap to guides/items/viewport#
When selected, the items will snap to the guide lines, other items or the viewport.
Layer Manager#
The layer manager allows you to select multiple items or change the order of the items. Click the Eye icon to hide an item. It will also be hidden during the preview.
Portrait/Landscape#
Click the Portrait icon to switch to portrait view. The Editor will automatically try to reposition all the items from the landscape view into a portrait view. When added to a playlist, the player will automatically use the correct view regarding its orientation.
Preview#
Click the Play icon to preview your template (including transitions, animations,…). Click the Stop icon to stop the preview.
General Widget settings#
Most widgets have the same categories and general settings. We will explain them below.
Content#
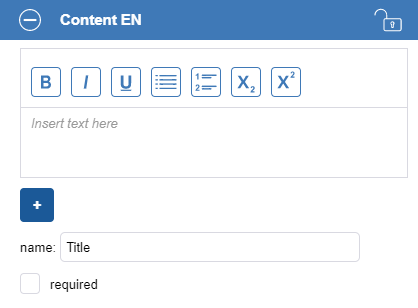
Text field: fill in the text for your widget. You can change the appearance of (a part of) your text with the buttons on top.
Name: the name of your widget. We recommend using a name that explains the content of the widget. This way it will be easier to manage the different layers.
Required: when selected, the template will not be displayed on the screen when the content is empty.
Font#
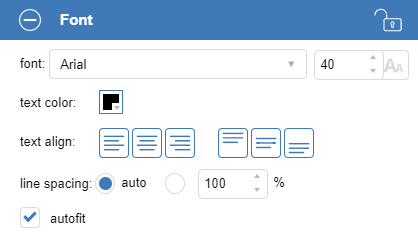
Font: change the font style and size of the content of your widget.
Text color: change the color of the content of your widget.
Text align: change the alignment of the content of your widget.
Line spacing: when the automatic line spacing is not sufficient, you can adjust this by selecting a percentage.
Autofit: when selected, the content of your widget will always fit within the size of the widget (even if the font size is too big).
Appearance#
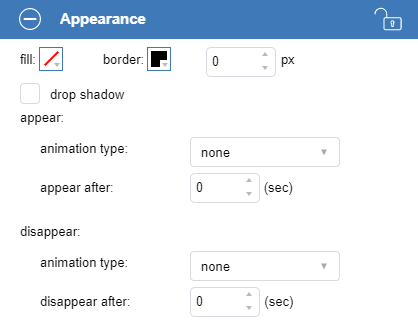
Fill: open the color picker to select a background color for your widget.
Border: open the color picker to select a color for the border of your widget. You can also adjust the thickness by changing the amount of pixels.
Drop shadow: when selected, a grey drop shadow will be applied to the content of your widget. You cannot change the color of the drop shadow.
Appear/disappear: add an animation type to make your widget appear/disappear. Don’t forget to adjust the appear/disappear after fields.
Size and position#
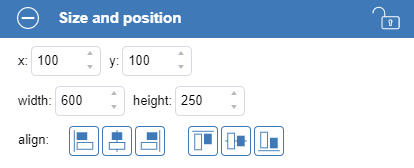
x/y: change the horizontal (x) and vertical (y) positioning of your widget.
Width/height: change the width and height of your widget.
Align: you can also choose to align your widget from left to right and top to bottom.
Locks#
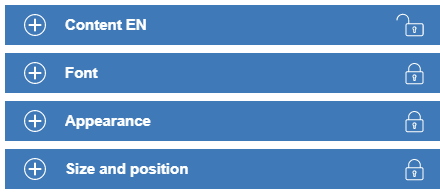
Each category of each widget can be locked. A locked category cannot be modified when the user creates a page based on this template. In the example to the right all categories of a text widget are locked, except for the Content category. This means that, when creating a page based on this template, the user will not be able to modify the font, appearance and size/position. Locking categories is often used to preserve the Corporate Identity of a company.
Note
The Font and appearance category are linked together. This means that when the Font category is locked, the appearance category will automatically be locked too.
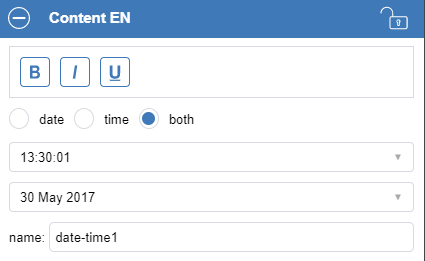
DateTime#
The Content category of the DateTime Widget exists of date and time configuration options instead of text.
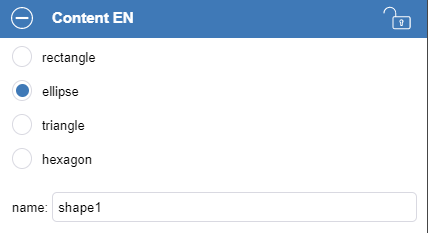
Shapes#
The Content category of the Shapes Widget exists of shape configuration options instead of text.
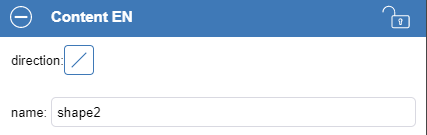
Line#
The Content category of the Line Widget exists of line configuration options instead of text.
RSS#
The Content category of the RSS widget exists of RSS configuration options. You are able to select which RSS feed you want to show.
The appearance field allows you to choose which elements you want to show (title, picture, publication date,…)
The appearance field also allows you to skip articles. This way you can show multiple articles without repetition.
Weather#
The Weather Image widget will show the corresponding weather image for today.
QR#
The Content category of the QR widget contains a url. This url can refer to a website, but also to other things such as a Wi-Fi connection.
Deleting pages#
Select the page(s) you want to remove.
Click on Delete in the Page Sorter.
Note
You can delete multiple pages at once, by holding down the CTRL key and clicking Delete.
Previewing pages#
After you have finished a page, a preview can be displayed. The preview looks exactly like it will on the screen.
Select the page.
Click on the Preview page button in the Page Sorter.
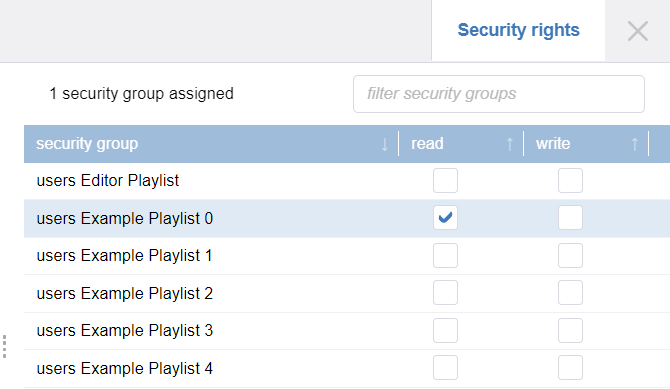
Securing pages#
You can determine the security rights for the entire playlist in the Playlist Settings window, or for a single page in the Page Settings window. This means that some users have read-only rights or no rights to a playlist or to certain pages in a playlist.
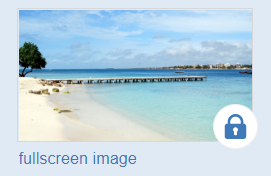
Locked pages#
A locked page indicates that you only have read rights for this page. You can see the page but not edit it.
Disabling pages#
When a page is disabled, the page will not be displayed on the screen. Disabled pages are greyed out and displayed with a blocked icon.
To disable a page, select the page and toggle the Disable/Enable icon in the page Sorter. Do not forget to publish your Playlist to send the changes to the screen.
Note
Disabling pages is a good way to save pages in your playlist that are not ready to be published.
Scheduling pages#
You can determine the date and time when a page needs to be displayed.
Select the page.
Click on the page Settings button in the page Sorter.
The page Settings screen will appear where you can see the page Scheduling.
If no dates are selected (start and stop date fields are empty), the page will always be displayed.
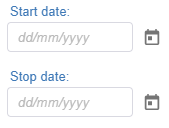
Click on the calendar icon to open the calendar. Select a start date and a stop date. This means that the page will only be displayed from the indicated start date until the indicated stop date. If you fill in the start and stop times, the page will only be displayed on the selected dates within that time frame. You can also choose to have the page displayed only on specific days of the week by selecting the checkboxes next to the days.
Note
You can verify your page Scheduling by clicking on the Preview Playlist icon. Select a date and time for which you want to verify if your page will be displayed or not. You will see an eye icon on each page in the page Sorter. A red eye indicates that the page will not be displayed on the selected date and time. A green eye indicates the opposite.
Previewing a playlist#
When you have added pages to a playlist and scheduled the pages, you can preview the entire playlist. Click on the Preview Playlist button.
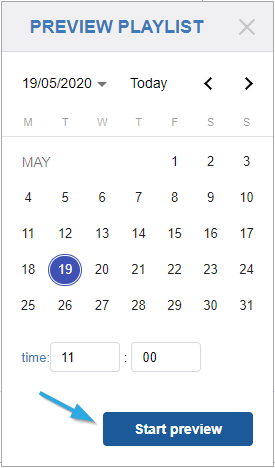
A calendar will appear, where you can select the date and time you want to check. Click on the Start preview button. A new browser tab opens and shows how the pages will be displayed on the screen.
The Playlist preview takes the page Scheduling into account, and only shows the pages that are scheduled on the selected date and time. When the Playlist preview has displayed all pages, it will start again from the beginning. To end the preview, close the browser tab and continue editing the playlist.
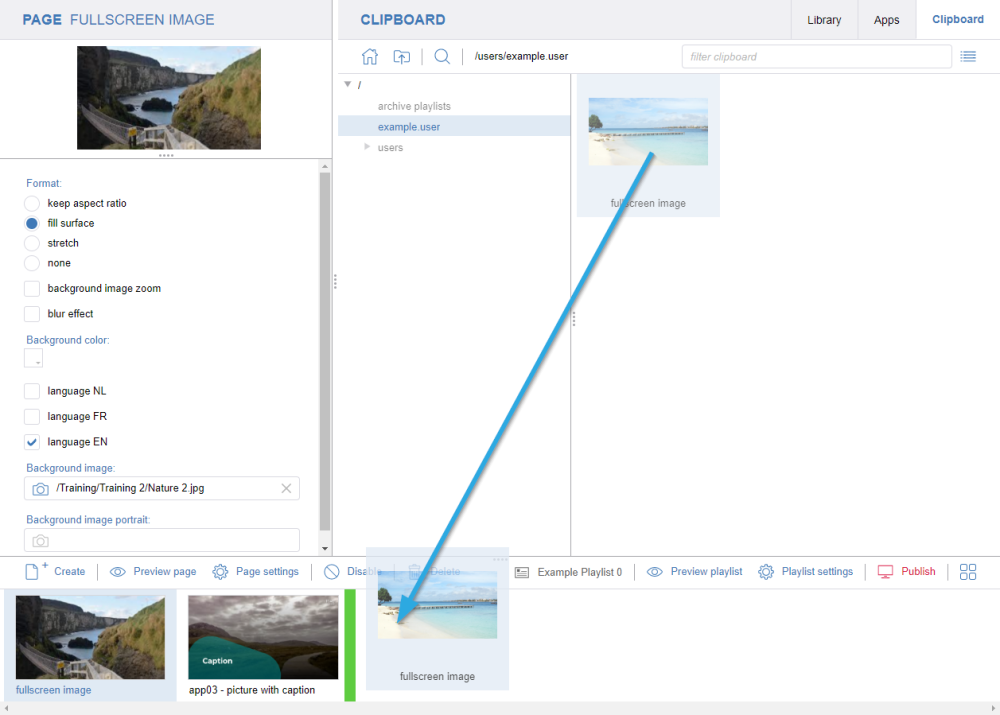
Clipboard#
You can copy pages between Playlists by using the clipboard. Along with the content, the page settings will also be copied.
Click on the clipboard tab at the top right corner.
Select the page(s) you want to copy.
Drag them to the clipboard.
Open another Playlist.
Drag the page(s) from the clipboard to the new Playlist.
Note
You can arrange your pages on the clipboard in different folders and rename the page(s).
Cleaning up expired pages#
Expired pages are pages whose end date, configured in page Scheduling, has passed. These pages can be automatically cleaned up. There are three clean-up types:
None: the expired pages remain in the Playlist until deleted manually.
Archive: the expired pages are removed from the Playlist and stored in archive folders, accessible through the clipboard.
Delete: the expired pages are permanently deleted from the Playlist.
You can change the clean-up type yourself.
Click on the Playlist settings button.
The Playlist settings window will appear.
Select your preferred clean up type here.
The next time the Playlist is opened, Centoview will check for any expired pages and delete or archive them, depending on the Playlist settings.
Warning
The archived pages will be available in the archive folders for a minimum of four weeks. You can copy archived pages to your personal clipboard folder if you want to keep them. If you delete a Playlist, the Playlist’s archive folders and pages are removed too.
Publishing a playlist#
When you publish the Playlist, it will be saved and the content will be sent to the screens. There are two ways to publish a Playlist:
From the Playlist Editor.
Click on the Publish button in the page Sorter.
From Content – Playlists.
Select the Playlist(s) you wish to publish and click on the Publish button at the top.
Note
When publishing from the Playlist Editor, it can take up to a few minutes to create the content. Please wait until the message is gone.